 using in Android")
In this article we’d like to tell you about connecting devices wirelessly. It goes without saying that this is a very helpful functionality for any mobile application.
Android provides several ways to implement this feature:
a) Wi-Fi peer-to-peer (P2P) - allows devices to connect directly to each other via Wi-Fi without intermediate access point (supported by Android 4.0 or later).
b) Network service discovery – implemented multicast DNS-based service discovery. It allows developers to connect to mobile devices, printers, cameras, media players, and others over Wi-Fi (supported by Android 4.1 or later).
But how implement devices connectivity via Wi-Fi for low API applications? Thereto we suggest using “JmDNS” library.
This is a Java implementation of multi-cast DNS and can be used for service registration and discovery in local area networks. JmDNS is fully compatible with Apple's Bonjour. Project license: Apache License, Version 2.0.
Download JmDNS source code and start working with .jar library in Android project
2.1) Download JmDNS source code.
You can download sources here. After archive downloading you can see the following folder structure (Pic. 1):
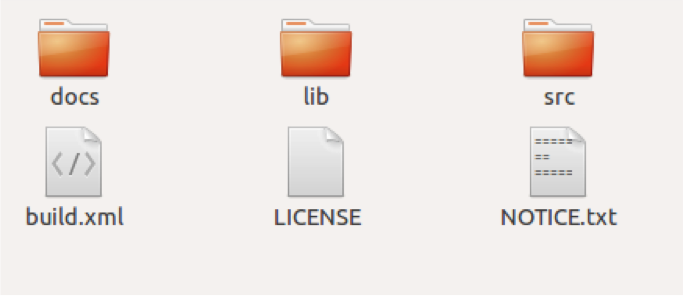
Pic 1. Folder structure after downloading.
Folder “lib” contains jmdns.jar. We added this .jar to the sample project and tried to build it, but Gradle plugin in Android Studio threw the following exception (see Pic. 2):
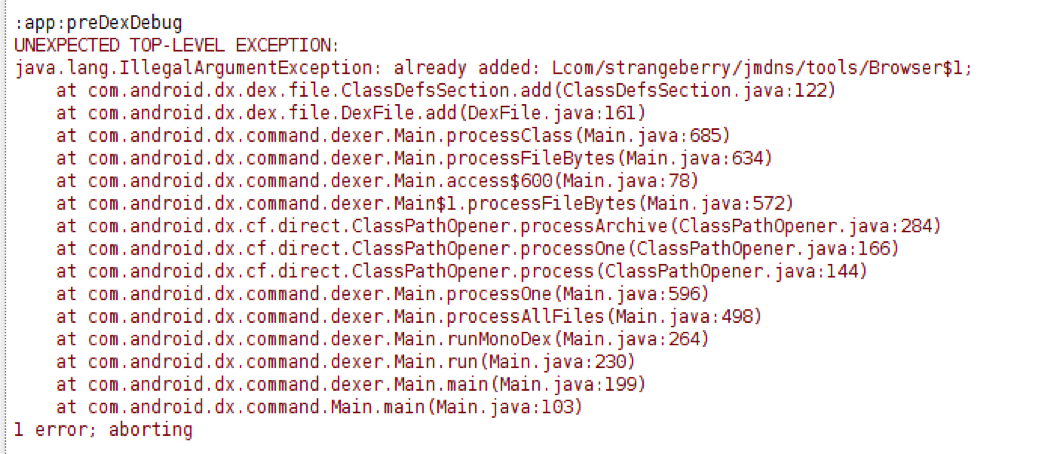
Pic 2. Build plugin exception.
We think, the reason is that not all the code in jar file is applicable with Android. We decided to recompile .jar file without a conflict code. In folder 'src' we saw such folder structure (Pic. 3):
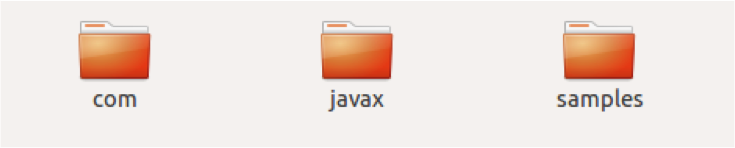
Pic 3. Source code folder structure
After sources research we found out, that we needed only code from javax folder in src folder. So, we need to create .jar from this code.
Build .jar file from source code.
a) Create .jar via terminal.
For .jar building we used “javax” folder only. Moreover, we can delete the folder with test, because it is unnecessary. We ought to compile the source code before jar creating. We can use javac compiler for any file in this directory with .java extension, and .class files for all appropriated .java files will be created (see Pic. 4):
![]()
Pic 4. Compile code
After this, we can create jar file. We used the following command in terminal for .jar creation (see Pic. 5):
![]()
Pic 5. Create .jar
The folder named “build” contains javax folder with sources and META-INF folder with MANIFEST.MF file. We used MANIFEST.MF file of minimal configuration.
Finally, jmdns.jar file will be created and can be applied to Android application.
b) Create .jar using Eclipse
To create new Java Project in Eclipse (see Pic. 6):
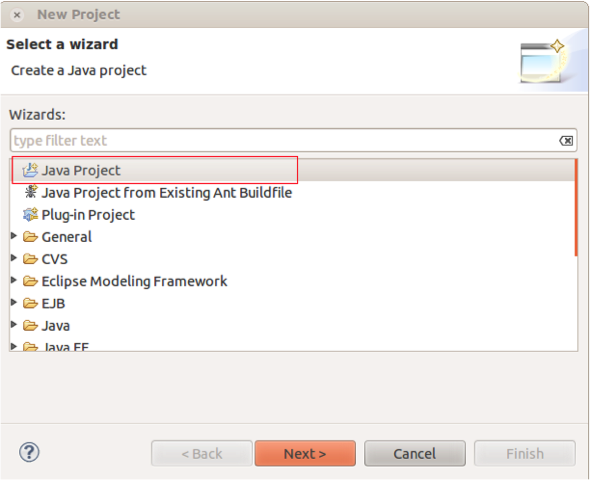
Pic 6. Create Java Project
Then, add sources from javax folder to this project (see Pic. 7):
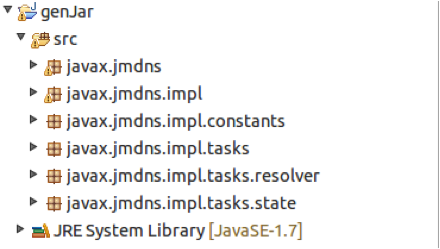
Pic 7. Source code from javax folder
For .jar generation open Export window (File – Export). In the appeared window select “JAR file” inset (see Pic. 8):
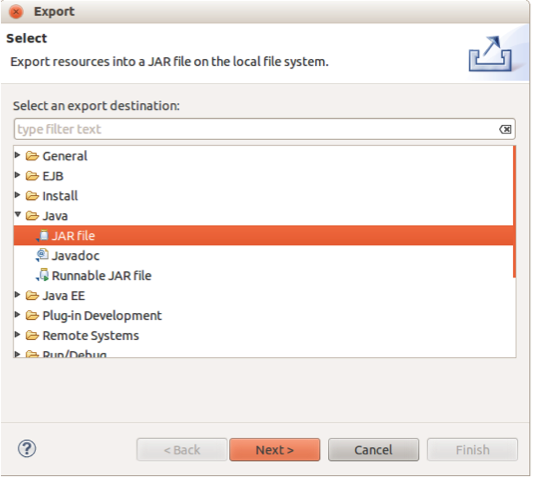
Pic 8. Export window in Eclipse
In “Jar Export” window set all as shown in the screenshot (see Pic. 9):
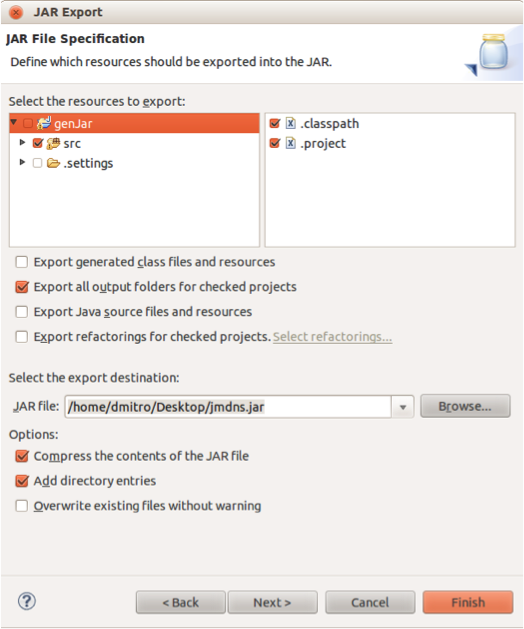
Pic 9. “Jar Export” window in Eclipse
Finally, press “Finish” button and .jar file will appear.
Sample application overview
In the sample application you can:
JmDNS service was started and registered in the background thread after application launch. Type some information in the bottom text field and press “Send” button. If some devices in network are present, you can see a message that the text has been delivered (see Pic. 10):
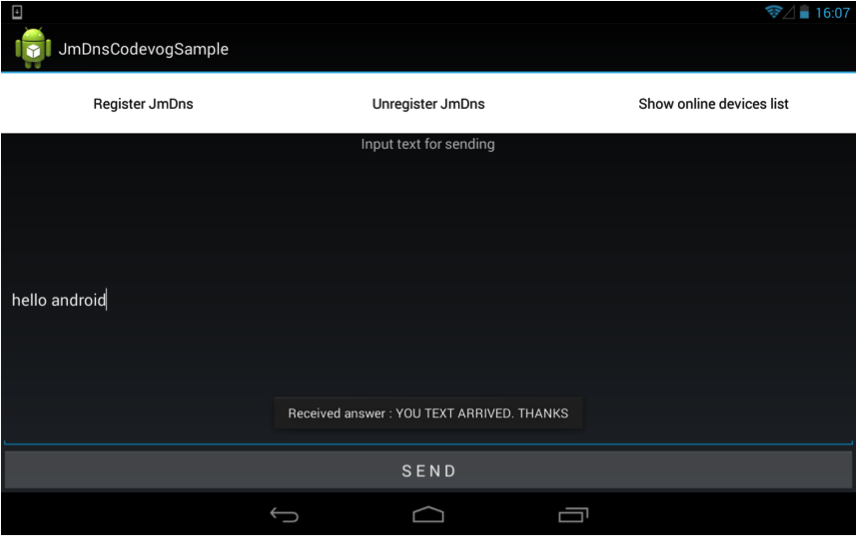
Pic 10. Samle application.
On Pic. 11 you can see a message, which is shown when device receives a message.
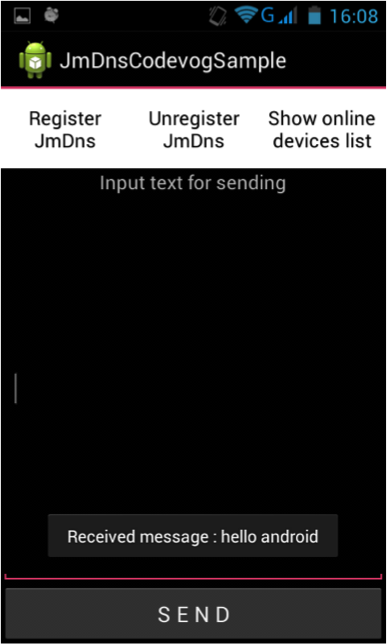
Pic 11. Sample application received messages.
Besides, if you want to know what devices are present in the network, please, press “Show online devices list” button. The dialog box that appears is shown on Pic. 12:
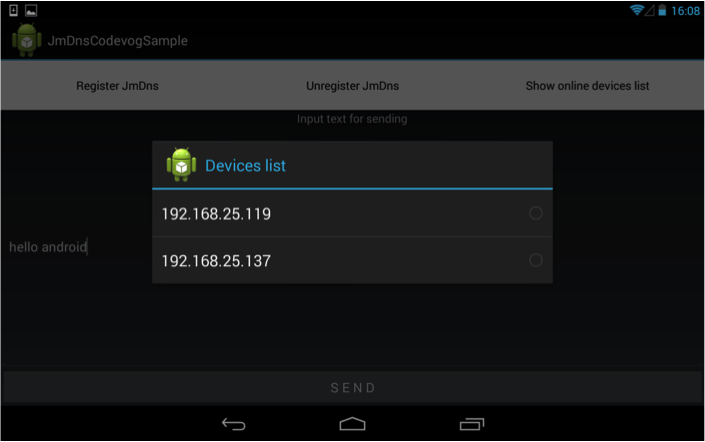
Pic 12. Devices list dialog
Code snippets and theory about JmDNS using.
a) DataTransferringManager class.
We implemented DataTransferringManager class which allows us to manage JmDNS. The code below shows how to start JmDNS:
public void startDataTransferring(final Context context) {

        WifiManager wifi = (WifiManager) context.getSystemService(android.content.Context.WIFI_SERVICE);
        changeMultiCastLock(wifi);

        try {
            if (jmdns == null) {

                InetAddress addr = getInetAddress(wifi);
                jmdns = JmDNS.create(addr);
                jmdns.addServiceListener(SERVICE_INFO_TYPE, listener = new ServiceListener() {
                    public void serviceResolved(ServiceEvent ev) {
                    }

                    public void serviceRemoved(ServiceEvent ev) {
                    }

                    public void serviceAdded(ServiceEvent event) {
                        jmdns.requestServiceInfo(event.getType(), event.getName(), 1);
                    }
                });
                Hashtable<String, String> settings = setSettingsHashTable(context);
                serviceInfo = ServiceInfo.create(SERVICE_INFO_TYPE, SERVICE_INFO_NAME , SERVICE_INFO_PORT, 0, 0, true, settings);
                jmdns.registerService(serviceInfo);
                serverThreadProcessor.startServerProcessorThread(context);
            }
        } catch (IOException e) {
            e.printStackTrace();
        }
    }
There are service info properties which used in application:
    public static int SERVICE_INFO_PORT = 8856;
    private String SERVICE_INFO_TYPE = "_sample_jmdns._tcp.local.";
    private String SERVICE_INFO_NAME = "sample_jmdns_service";
    private String SERVICE_INFO_PROPERTY_IP_VERSION = "ipv4";
    private String SERVICE_INFO_PROPERTY_DEVICE = "device";
For service registration use the following code:
ServiceInfo  serviceInfo = ServiceInfo.create(SERVICE_INFO_TYPE, SERVICE_INFO_NAME , SERVICE_INFO_PORT, 0, 0, true, settings);
jmdns.registerService(serviceInfo);
If you want to unregister the service use the following code:
ServiceInfo  serviceInfo = ServiceInfo.create(SERVICE_INFO_TYPE, SERVICE_INFO_NAME , SERVICE_INFO_PORT, 0, 0, true, settings);
            jmdns.unregisterService(serviceInfo);
For online devices information fetching use the code:
ServiceInfo[] serviceInfoList = jmdns.list(SERVICE_INFO_TYPE); Then, you can parse ServiceInfo[] and retrieve different information from ServiceInfo objects. For example, you can take IPv4 like this:
String ipV4 = serviceInfo.getPropertyString(SERVICE_INFO_PROPERTY_IP_VERSION);ServerSocketProcessorRunnable class
This class describes Runnable for JmDnsServerThreadProcessor. This thread “listens” some port (SERVER_PORT in the sample app) and operates ServerSocket. The code below shows how run() method works for this Runnable:
    public void run() {
        Socket socket = null;
        try {
            serverSocket = new ServerSocket(SERVER_PORT);
        } catch (IOException e) {
            e.printStackTrace();
        }

        try {
            while (!Thread.currentThread().isInterrupted()) {

                socket = serverSocket.accept();

                InputStream inputStream = socket.getInputStream();
                InputStreamReader inputStreamReader = new InputStreamReader(inputStream);
                inputBufferedReader = new BufferedReader(inputStreamReader);

                outputPrintWriter = new PrintWriter(new BufferedWriter(new OutputStreamWriter(socket.getOutputStream())), true);

                processInputInputOutputBuffers();
            }

            inputBufferedReader.close();
            outputPrintWriter.close();

        } catch (Exception ex) {
            Log.v(TAG, "server socket processor thread EXCEPTION : " + ex.toString());
        }

    }
As you can see, we initialize ServerSocket by SERVER_PORT. Method accept() for ServerSocket waits for an incoming request and blocks it until the connection is opened. For socket information reading use this code:
InputStream inputStream = socket.getInputStream();
InputStreamReader inputStreamReader = new InputStreamReader(inputStream);
BufferedReader    inputBufferedReader = new BufferedReader(inputStreamReader);
String inputLine = inputBufferedReader.readLine();
To write some information into socket do the following:
OutputStreamWriter outputStreamWriter = new OutputStreamWriter(socket.getOutputStream());
BufferedWriter bufferedWriter = new BufferedWriter(outputStreamWriter);
PrintWriter printWriter = new PrintWriter(bufferedWriter, true);
printWriter.println("some info");
After that it’s necessary to close reader and writer:
 inputBufferedReader.close();
 outputPrintWriter.close();
ClientProcessor class
For sending messages to other devices we implemented ClientProcessor class. You can use this class or implement your own. We initialize the socket in the following way:
InetAddress serverAddr = InetAddress.getByName(serverIpAddress);
socket = new Socket(serverAddr, ServerSocketProcessorRunnable.SERVER_PORT);
To close the socket use:
socket.close();
ClientProcessor worked with socket as well as in ServerSocketProcessorRunnable using PrintWriter for output and BufferedReader for input reading.
So, in this article we tried to describe how to use amazing JmDNS. But the article is acceptable for slight investigation. For better JmDNS understanding use docks from the downloaded archive and our sample. Download JmDNS source code and start working with .jar library in Android project
Categories
Tags
Favourite posts
Getting an e-Commerce website online might sound like a huge undertaking,...
WebView displays web pages. But we are interested not only in web-content...
Google Maps is a very famous and helpful service, which firmly entrenched...
RSpec is an integral part of Test Drive Development (TDD) and its main id...
When developing a web application that extensively works with user input ...
Field configuration defines behavior of all standart (system) fields and ...
As you might have already heard, the latest stuff for upgrading rails was...